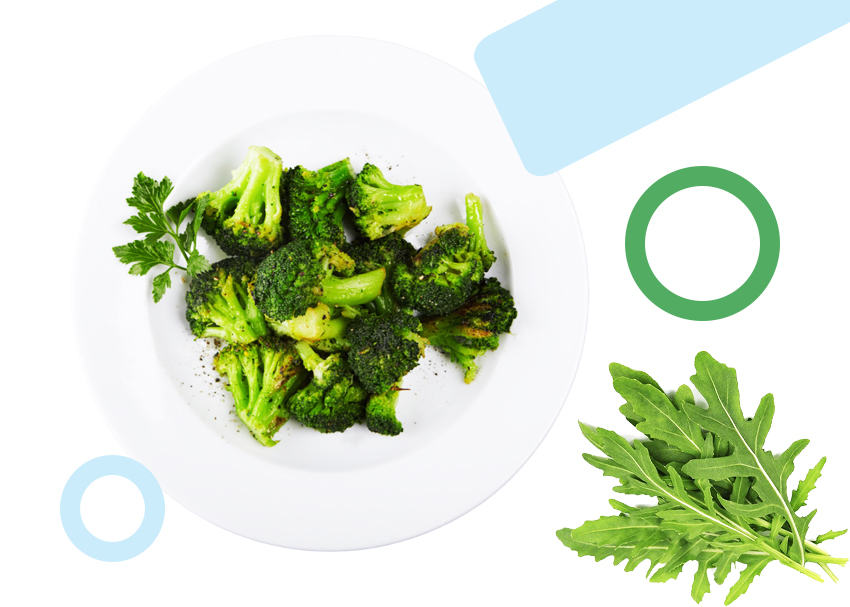
Broccoli (Brassica oleracea) is a nutrient-rich vegetable that can be used in a variety of ways. It can be eaten fresh, lightly sautéed, or used in stir fry, soup, and pasta or rice-based entrees. Additionally, growing broccoli is not difficult as long as you follow a few simple broccoli growing tips.
Description of broccoli
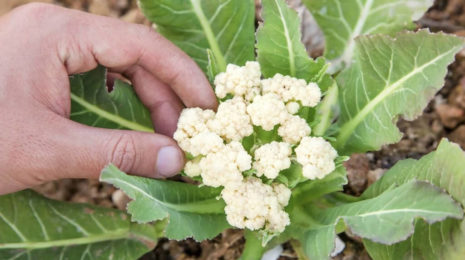
This cabbage variety looks very similar to its “relative” – cauliflower. The only difference between the brothers is the color. Broccoli has a deep green color, and the cauliflower is beige and creamy. Broccoli grows rather quickly. One stalk of cabbage grows 75-80 cm. It then forms inflorescences on it. The inflorescences have an openwork appearance – that is what we use. But you have to cut them off before they ripen into flowers! Otherwise, the bud will turn yellow and become unfit to eat.
We should note, however, that broccoli is a high-yielding crop. It can bear fruit for several months. Once you cut off one inflorescence, new ones will form immediately.
It is also a curious fact that the demand for this variety is growing every day. Over the past 15-20 years, there has been just a surge of interest in this plant. What’s more, in terms of its demand, it is only slightly behind conventional cabbage.
In our article, we will tell you how to grow this crop yourself. We will start with the seedlings, then discuss how to take care of them. Then we’ll talk about harvesting and what varieties are available.
Growing broccoli

When to plant the seeds?
Broccoli is usually planted in early spring. The ideal time period is from early to mid-March. But it all depends on the variety you choose and where you live. For example, if you live in northern regions, choose early maturing varieties. Because the warm summer period is short, late-ripening varieties will not have time to ripen.
And one more very important point – buy seed material only in special places. Also, pay attention to the packing date of seeds. It is better to take only the freshest ones.
Seed Preparation
Once the seeds are bought – sort them, selecting the largest ones. After that, heat the water to 45-50 degrees. Then pour the selected seeds into the water. At the same time prepare another container with cool water (+/-10 degrees). After 15 minutes, take the seeds out of the hot water, then dip them into cold water. Such a “contrast shower” will be useful. It is necessary to start the biological processes in the seeds.
You can also additionally soak them in special solutions. To do this, you can use a specialized growth stimulator. To do this, soak the seeds in the solution for +/-8 hours. After that, rinse them in running water. Then leave them in the refrigerator for 24 hours. In the refrigerator, choose a section for the delicate storage of vegetables, where there is not much cold. After 24 hours, finally, dry them on a paper towel.
Seeding
For broccoli sprouts, we need deep containers. Ideally, the depth of the container should be 25-30 cm. First, we cover the bottom with drainage material, the thickness of the layer should not be more than 1-1,5 cm. Small pebbles, pebbles, or playdates will suit us. Then we need to add soil there. Garden soil can be bought in specialized stores. The main condition before planting – the soil must be loose. This is necessary so that moisture and air could easily circulate in it. When everything is filled with soil – you need to do the first watering. It is desirable to use “live” water, say, from a lake/river or rainwater for watering. You can also use tap water, but it will contain fewer nutrients. Watering is better not a continuous stream, and from a sprinkler, simulating rain. When the soil is ready – make furrows, a depth of 1-1,5 cm. The distance between the furrows should not be less than 3 cm! After that, we sow our seeds into the furrows and cover them with soil. The soil on the furrows can then be slightly pressed.
Another important aspect is the temperature regime. At the first stage, keep the temperature at 18-20 degrees. But as soon as the sprouts appear – you will need to lower it to 10-11 degrees for a week. After that, you will need to monitor the temperature depending on the weather and time (day/night). If it’s sunny outside, keep the temperature at 16-17g. If it’s cloudy and rainy – 13-14 grams. But night temperature is stable – always about 9-10 g.
As for humidity, it should be kept in the region of 80-85%. The soil should always be slightly moist. But do not water too much. If you pour a lot of water, the plant’s stem will begin to turn black and rot. Because of this, our cabbage can die.
Replanting sprouts

Prick the plants after about 2 weeks. Self-decomposing containers are ideal for this. They usually consist of peat or other beneficial materials for the soil. Their advantage is that after planting in the ground – it is not necessary to remove them. All because the container itself “dissolves” in the ground, fertilizing the soil with itself. It is necessary to handle the picking with extreme caution. Carry out transplanting carefully, so as not to damage the root system. In advance, fill our transplant pots with soil. You can take the one that was used for seedlings. Then sprinkle the soil with water, so that it is saturated with moisture. Next, make small holes for seedlings. Then very gently plant our seedlings there. Fill them with soil and lightly compact the soil around the plant. In the end, water everything again.
The first time the seedlings will take root – keep an eye on them. Protect the seedlings from direct sunlight. Also increase the temperature to 21-22 grams.
When the sprouts get stronger and take root, you can give them a boost. Mineral fertilizer is good for this purpose. It can be purchased in garden stores. The solution is prepared as follows: per bucket of water, we need one spoonful of fertilizer. Everything is thoroughly dissolved in water and stirred. Then, you need to water each of the seedlings – about 50-60 ml. of solution. After the feeding is used – the temperature changes. The daytime temperature is 17-18 hr, and the night temperature is 9-10 hr.
About 15 days before planting in real soil – do some hardening. Take the seedlings out into the fresh air in the sun. This way you will adapt and strengthen the plants. The first time you take them out for 2-3 hours – do this for 2-3 days. Then leave it for a few days for 9-10 hours. And at the end also for a few days – leave the seedlings fully at night.
Transplanting broccoli into the ground

The optimum time for the transfer of seedlings into the real earth is considered 45-50 days. At the same time, you should not delay the process too much, so that the mark of 50 days is the maximum. During this time, our cabbage should empty 5-7 strong leaves. Actually, this will be the main signal for you to transplant.
In average climatic conditions, the time will be from May 15-31. If you live in cold regions, wait until the ground has fully warmed up. Then you can shift the transplanting dates to later.
For the future bed, we will need an area where the sun hits as much as possible. If possible, choose a place where the northern part of the plot will have protection. For example, near a building, fence, or bushes. This is necessary to reduce the effects of cold northern winds. It is also important to know what was growing there before. If the site was planted with radishes, tomatoes, or beets, it is not good. These plants strongly impoverish the soil, removing from it the nutrients. It will take 4 years to restore this land for broccoli. It is good if carrots, potatoes, or onions previously grew in the selected place. It’s also okay if there were grain or legume crops there before.
Soils
Soil with a pH of 6.5-7.5 is an excellent choice. The soil for planting broccoli should be prepared since the fall. If not in the fall, then at least 7-10 days before planting. Before digging up the soil – try to get rid of weeds. The depth of the tillage should be 25-30 cm. It will also be a good move to use organic fertilizers. Check with the manufacturer about the norms of their use.
Transplanting broccoli into the ground
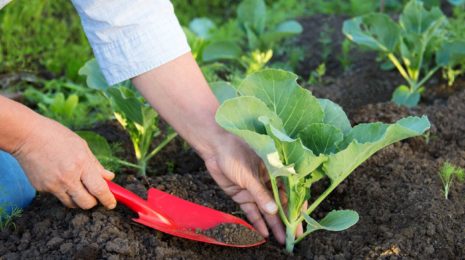
It is best to start the transplanting process early in the morning. A cloudy and not sunny day will be a plus. A couple of days before planting, dig a nest under the cabbage. And already before planting – pour about half a liter of water into the hole. Also add there 6-8 grams of mineral fertilizer, mixing it with wet soil. Then transfer our self-decomposing cup or the plant itself into the nest. If you only plant the seedling, clean its roots from the soil. After the broccoli is transplanted, cover it with soil. Lightly press the soil down. Finally, water the soil near the stem of the plant with water (270-300 ml).
After planting, keep an eye on what the weather will be like. Cover the sprouts with a cover if frosts are promised. Glass or plastic jars can be used for this purpose. Keep in mind that frost over 2 degrees will kill your seedlings.
Care of the plant
Subsequently, you will need to take care of each nest. First of all, loosen the soil and control weeds. The root system should receive both moisture and air. Fifteen days after planting – strengthen the stems by performing a dip. Also, repeat the procedure a week later.
You also need to watch out for the effects of the sun in the first few days. If you have sunny and hot weather, create artificial shade for the first 5 days. Make it shady only during the hours of maximum sun exposure – from 11 to 14. Also do not forget about watering the root system in the evening. If the weather is very hot – it will be necessary to humidify the air around the plants. Water-dust irrigation systems are good for this.
It is worth remembering that when loosening the ground – do not immerse the tool heavily in the ground. The maximum level is 7-8 cm. Otherwise, you can damage the roots. Loosen the soil the day after you watered the plant.
How do I water?
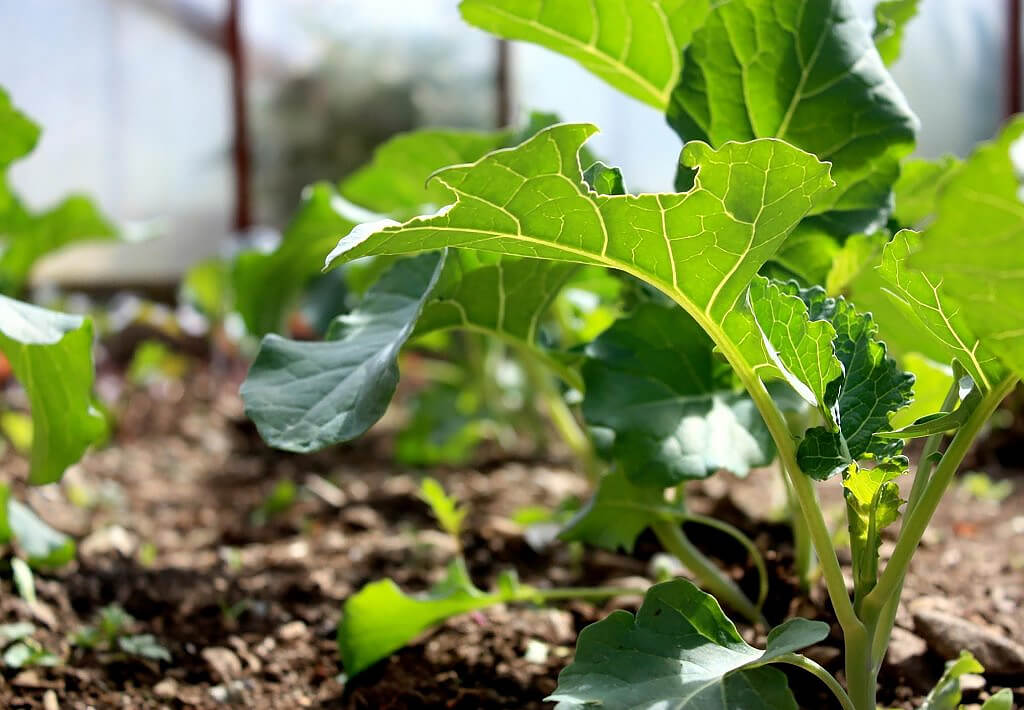
Broccoli should be watered about once a week. But if the average temperature is consistently above 25-26 degrees, you can do it more often. The watering process itself should be unhurried. Gradually add water in small doses, waiting until it is all absorbed. Our goal is to moisten the soil, not to make it swampy. One more thing about spraying – simulating rainfall perfectly affects the condition of the leaves, strengthening them. Plus, this option of watering will be the best in places where there is a lot of clay.
Supplemental feeding
If you want a higher yield, you need more nutrition. To achieve a good yield, you need to feed the plant often. We have already written above about feeding when growing seedlings and planting. We’re not taking these procedures into account now. Next, we will talk about feeding the plant already planted on the plot. After 2 weeks you can already give the plant more nutrients. During this period, it is important to use organic fertilizers. You can buy them in specialized stores. Dissolve 250 grams of fertilizer in a bucket of water. You can also add a spoonful of nitrogen fertilizer. Pour the resulting solution on the soil of the bed. Take as a basis the ratio of 1 liter per 1 sq.m.
After 20 days, you can make a second top-up. Only this time the emphasis should be on nitrogen fertilizers. Ammonium nitrate is excellent. Also, make a solution in the ratio of 20 grams per bucket of water. The consumption when watering will be the same: a liter per square meter of area.
The third time you can additionally feed broccoli by the end of summer. Here it will be more important to fertilize on the basis of phosphorus and potassium. To create a solution, you will need a bucket of water and 35 grams of superphosphate, and 10 grams of potassium sulfate. The norm of watering will now increase to 1.5 liters per 1 square meter.
When the first crop is harvested and the main inflorescence is cut – feed the plant again. This will make the cabbage begin to grow lateral inflorescences. For this solution, we will need 1 tbsp of mineral fertilizer and a bucket of water. The resulting liquid in the volume of 1 liter pours under the root of the plant.
After 7-8 days you can also add 180-200 grams of potash fertilizer under the root. As an alternative, you can use ash from a tree. Before feeding, loosen and moisten the soil near the cabbage stem. This way the fertilizer will get to the roots faster.
How to harvest broccoli?
Harvesting
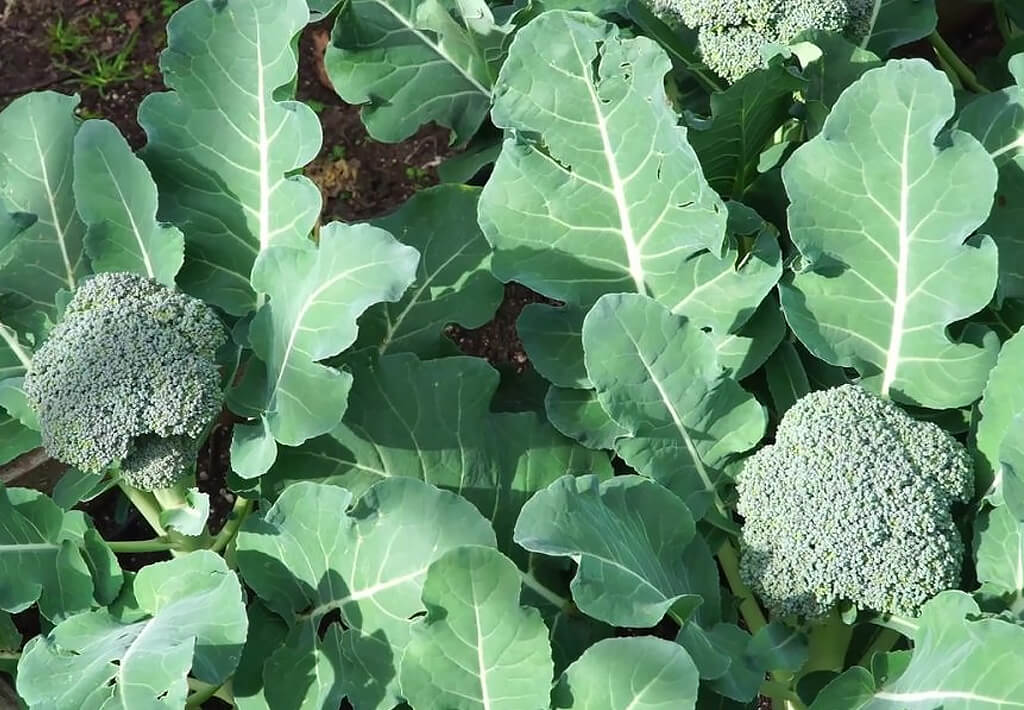
We said at the beginning of this article that broccoli shoots should be cut before they open. When the time comes, you need to watch the sprouts carefully. In order not to make a mistake, there are a number of points on which you can be guided. The size of the inflorescence – in dimeter about 13-15 cm. Color – rich dark green. Type – the buds should be unopened. As soon as you notice that the fruit begins to yellow – immediately cut it off. The yellowing is a sign of the soon-to-be ripe, and we use only unripe shoots. It is in these inflorescences the maximum content of useful substances. And the taste of unripe broccoli is better.
The best time to harvest is in the morning. This is a time when the plant has an accelerated movement of fluids. It is better to cut the shoot itself rather than pluck it. The cutting tool should be sharp and clean. This way you will cause as little damage as possible and not infect the plant.
The time from the appearance of sprouts to the first harvest in 2 months. As a rule, broccoli is harvested until the end of September. The main thing is to harvest the last of the crop before frost.
Broccoli varieties
In total, about 40 varieties are currently known. All of them can be divided into 4 groups: early, medium-ripening, medium-ripening, and medium-late. When choosing a variety for yourself – be guided by the region and climate in which you will grow broccoli.
